
Why Do Bubbles Keep Appearing in the Same Areas of Dental Duplication Silicone Molds?
When a dental duplication silicone mold repeatedly develops a void beside the same tooth, inside the same groove, or around the same undercut, we would first examine how silicone reaches that location and how air leaves it.
The important clue is the repeatability of the defect. Randomly distributed bubbles and a cavity that returns at one particular feature deserve different investigations.
Our starting point is to treat detail reproduction as a filling-and-venting problem: silicone must reach the surface while displaced air still has a route out. Good flow helps, but it does not guarantee that every recess will fill.

Why Good Flow Does Not Guarantee Complete Detail
A silicone can flow readily into the flask yet leave a small area of the master unrecorded. Bulk filling and local detail reproduction are different conditions.
Consider a recessed feature that silicone can approach from two sides. Both advancing fronts may pass around the feature and meet across its opening before the air inside has escaped. The flask continues filling, so the pour appears successful, but the recess remains partly occupied by air.
Once cured, that location may appear as a smooth cavity in the silicone’s model-contact surface.
This is the distinction we consider most useful when troubleshooting dental duplication silicone bubbles:
The question is not only whether silicone can flow into a feature, but whether it closes the air’s escape route before filling that feature.
Changing to a lower-viscosity material may help some geometries. It does not necessarily correct an unfavorable filling sequence. Similarly, removing air from the mixed silicone does not prevent new air pockets from being trapped against the master during pouring.
What a Repeated Defect Can Tell Us
A void that appears at the same position across separately made molds makes local factors worth investigating first. These include the geometry, pouring direction, surface treatment, and stresses during removal.
However, location alone cannot establish the cause.
Before changing the pouring technique, examine the affected silicone and compare it with the corresponding master surface.
| Observation | Our interpretation | What to check next |
|---|---|---|
| Smooth, rounded cavity with fully cured surrounding silicone | Consistent with an air pocket at the interface | Filling direction and the recess’s escape path |
| Sticky or smeared patch | A curing or surface-compatibility problem remains possible | Surface preparation and mixing uniformity |
| Ragged edge or missing thin section | Separation damage remains possible | Undercuts, demolding time, and removal direction |
| Defect appears only in the duplicate, while the silicone is intact | The problem may originate during casting | Gypsum or investment filling and wetting |
These are diagnostic clues, not definitive tests.
We also distinguish the negative mold from the positive duplicate. A cavity in the silicone can create a raised nodule if the casting material fills it. A pit in the duplicate is therefore not, by itself, evidence of a bubble in the silicone mold.
Follow the Filling Sequence Around the Failed Feature
For a recurring local void, our first proposed adjustment is the filling path.
Before the next mix, identify three things: where silicone first contacts the master, how it approaches the failed feature, and where the displaced air could escape.
The final liquid level tells us little about this sequence. A feature may be submerged after its air pocket has already been enclosed.
Pouring Position
Pouring from several positions can create fronts that converge around a recess. A controlled pour from one suitable location can make the filling sequence more predictable, provided it is compatible with the product and flask instructions.
The objective is to allow the material to advance progressively around the master without prematurely surrounding the problem area.
We would not prescribe the same pouring point for every model. It should be selected in relation to the feature that is failing.
Model Orientation
Orientation can change whether a recess remains open to escaping air as the silicone rises.
Where the flask design permits, a modest change in orientation may provide a useful comparison. The master must remain secure, and the arrangement must preserve adequate mold thickness, support, and a practical removal path.
An orientation that improves filling but produces a fragile mold is not a complete solution.
Interruptions During Filling
Prepare the flask, master, and required material quantity before mixing. Pauses introduce another variable into the investigation, particularly if the material reaches the difficult feature late in its working period.
Our aim is a repeatable filling sequence—not simply a faster pour.
Why Longer Degassing May Not Solve This Defect
Air incorporated during mixing and air trapped against the master enter the process at different stages.
Vacuum treatment, where approved, can address air already present in the mix. It cannot establish an escape route for an air pocket created later by the way silicone surrounds a recess.
This distinction matters when a laboratory responds to every recurring void by extending degassing. The extra processing time may leave less time for pouring while the local filling geometry remains unchanged.
We would prioritize mixing and approved air removal when voids are widespread throughout the material. For a fully cured mold with one consistently affected feature, we would prioritize a controlled investigation of that feature’s filling path.
Both mechanisms can coexist, so the comparison must keep mixing conditions consistent.

Verify the Cause by Changing One Variable
Our preferred first comparison is deliberately narrow: make otherwise comparable molds while changing only the pouring position.
Keep the silicone formulation, component ratio, batch size, mixing procedure, master preparation, temperature, and demolding conditions as consistent as practical. Record when mixing begins and pouring ends.
Photograph the same feature after each mold is removed, before pouring the duplicate.
The result should guide the next step:
- The defect disappears or moves: this supports the possibility that the filling path contributes to the problem. Repeat the improved arrangement before adopting it.
- The defect remains unchanged: review local surface condition and geometry; the first adjustment has not established a solution.
- The surface is sticky or torn: investigate curing or separation damage before interpreting the result as trapped air.
This comparison does not prove the mechanism by itself. Its value is that it produces interpretable evidence without changing several conditions simultaneously.
We would avoid changing silicone, applying a new surface treatment, and adjusting the pour in the same trial. An improved result would then provide little guidance about which change mattered.
Keep Working Time in the Investigation
A suitable filling path still needs sufficient processing time.
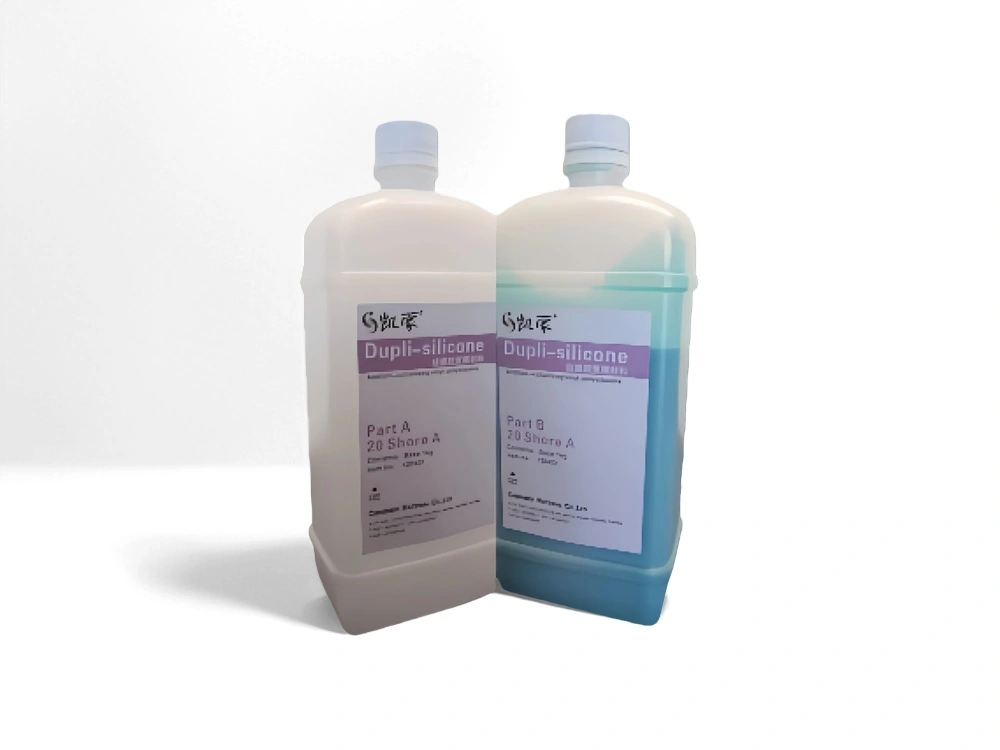
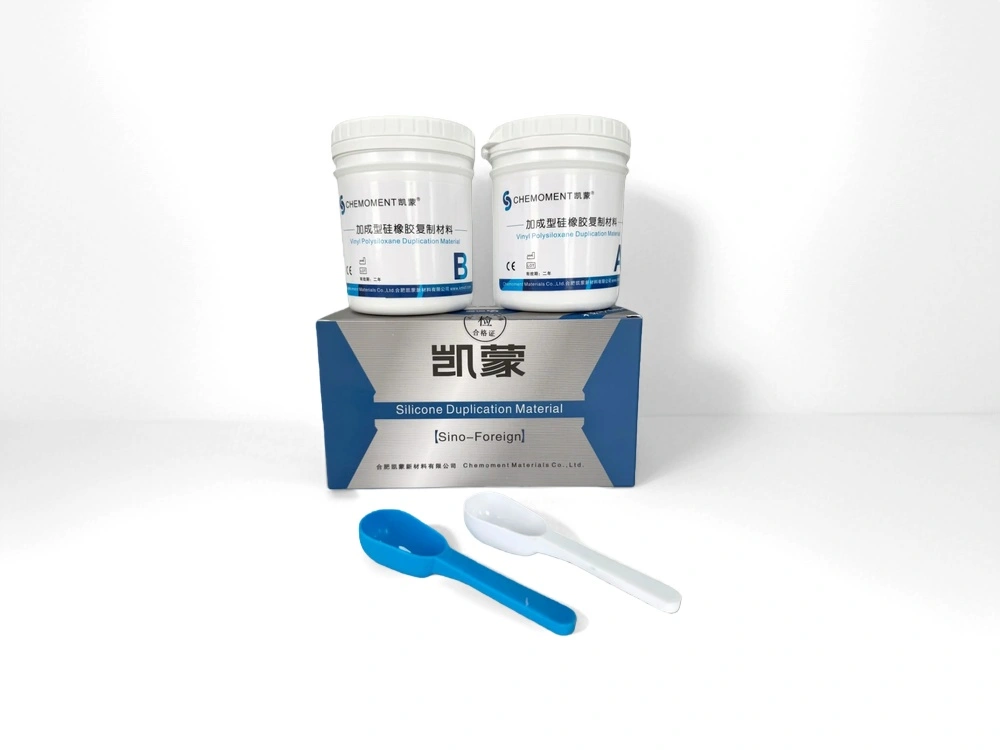
Our dental duplication silicone has a published total working time of 5–6 minutes at 23°C, with a setting time of 15–20 minutes at 23°C. Customized formulations should be processed according to their supplied instructions.
For a recurring detail defect, record when silicone reaches the difficult area—not just when pouring starts. This helps determine whether the feature is consistently being filled near the end of the available processing window.
Do not alter the component ratio to gain more working time. If the established workflow cannot be completed within the specified conditions, discuss a suitable formulation and procedure with us.
What We Need to Assess a Recurring Void
The most useful technical inquiry shows the relationship between the defect and the pouring arrangement.
Send us a close-up of the affected silicone surface, the corresponding master feature, and an overall photograph showing the flask and pouring position. Include the batch identification, master material and treatments, mixing method, temperature, and processing times.
Through our technical contact page, you can also request the applicable product instructions.
Our central view is that a recurring local void should be investigated through its location, surface condition, and filling sequence before changing the material specification. That approach gives the laboratory a clearer basis for correction—and a process it can reproduce on the next mold.