


For a crown or bridge impression, choosing between a one-step and two-step putty wash impression technique is not simply a question of speed versus accuracy.
The real difference is control.
In a one-step technique, putty and light-body wash are used at the same time. The procedure is efficient, but the operator has limited control over the final thickness of the wash around the preparation.
In a two-step technique, the putty impression is made first and then relieved before light body is added. This makes it possible to create a more defined wash space, but it introduces another variable: the set putty impression must reseat accurately during the second stage.
So which technique gives the better impression?
Under controlled laboratory conditions, studies often favor a two-step PVS putty wash technique with a uniform wash space, commonly around 1–2 mm. Clinical studies, however, have not consistently shown the same advantage. Some randomized clinical research has found one-stage impressions reproduced preparation finish lines more accurately than two-stage impressions.
That difference matters. It suggests that technique selection should be based on the case, the operator's workflow and the behavior of the impression materials—not on the assumption that adding a second step automatically improves accuracy.
One-Step vs Two-Step Putty Wash at a Glance
| Factor | One-Step Putty Wash | Two-Step Putty Wash |
|---|---|---|
| Putty and wash | Used simultaneously | Putty first, wash second |
| Tray seating | Once | Twice |
| Chairside time | Shorter | Longer |
| Wash thickness | Less controlled | Can be deliberately controlled |
| Risk of putty displacing wash | Higher | Lower when adequate relief is provided |
| Reseating risk | Minimal | Important |
| Technique coordination | High during loading and syringing | More separated workflow |
| Best suited to | Routine cases with good access and timing control | Cases where defined wash space is useful |
| Main concern | Uneven or displaced wash | Incomplete reseating or trapped wash |
Neither column represents a universally superior technique. Each solves one problem while creating another.

How the One-Step and Two-Step Techniques Behave Differently
One-Step Putty Wash: Faster, but the Wash Has to Compete for Space
The one-step putty wash technique, also called the simultaneous or double-mix technique, uses high-viscosity putty and low-viscosity wash during the same working cycle.
Light-body material is syringed around the prepared tooth while putty is loaded into the tray. The tray is then seated and both viscosities set together.
For routine restorative work, the appeal is easy to understand. There is one tray insertion, no preliminary putty impression to modify and no second seating to reproduce.
The challenge appears during tray seating.
Putty has much greater resistance to flow than light body. As the tray moves into position, the putty can displace some of the unset wash. The resulting wash layer may therefore be very thin in one area and considerably thicker in another. In an unfavorable case, the preparation margin may partly contact putty instead of remaining covered by light body.
This does not mean that a simultaneous impression is inherently inaccurate. Comparative research has shown that material selection can influence accuracy as much as, or more than, whether a one-step or two-step technique is used.
The practical point is that one-step impressions depend heavily on material pairing, timing and tray seating.
There must be enough working time to load the putty, syringe the wash and fully seat the tray before either viscosity changes enough to interfere with the procedure.
For clinicians comparing timing specifications, Chemoment's guide to working time versus setting time in VPS impression materials explains why the usable handling window should be considered separately from the final setting time.
Two-Step Putty Wash: More Wash Control, but Reseating Becomes Critical
In the two-step putty wash technique, the putty impression is made and allowed to set first.
Space is then created inside the preliminary impression. Light-body PVS is applied around the preparation and/or inside the relieved putty impression, and the tray is returned to the mouth.
This changes the role of the putty. Instead of competing with unset light body during one simultaneous seating, the set putty effectively becomes a custom carrier for the wash.
That is where the technique can gain an advantage.
Several laboratory studies have reported improved dimensional accuracy when the wash material is given a uniform, controlled space, particularly around 1–2 mm.
But the word controlled is doing most of the work.
Simply taking a putty impression, removing an arbitrary amount of material and filling it with wash is not the same as a controlled two-step technique.
If the relief is uneven, excess wash has nowhere to escape, or interproximal and undercut areas prevent the impression from reaching its original position, the second seating can introduce distortion.
The wash-space advantage is therefore useful only if the impression can return completely to its original seating position.
What the Research Actually Says About Accuracy
This is where simplified comparisons often become misleading.
If only laboratory studies are considered, it is easy to conclude that the two-step method is more accurate. Controlled spacer studies frequently support that conclusion.
Clinical conditions are different.
Prepared teeth may have subgingival finish lines. Tissue can rebound after retraction. Blood or crevicular fluid may be present. The putty impression has to pass over actual tooth anatomy twice. A rigid laboratory model does not reproduce all of those variables.
In a randomized clinical study involving patients receiving fixed restorations, researchers compared one-stage putty-wash, two-stage putty-wash and monophase impressions. The one-stage putty-wash technique reproduced the finish line more precisely than the two-stage method in that study. Blood present in the impression and probing depth also significantly influenced the result.
A later randomized clinical investigation examining three-dimensional correctness also found greater discrepancies with the two-stage procedure and concluded that clinical parameters had a major influence on impression accuracy.
This does not invalidate the controlled-spacer research.
Instead, the two groups of studies answer slightly different questions.
Laboratory question:
If wash thickness and seating can be carefully controlled, which configuration produces the most dimensionally accurate cast?
Clinical question:
When tissue, moisture, preparation depth and actual reseating are involved, which workflow reproduces the preparation reliably?
That distinction gives clinicians a much more useful answer than declaring either method the winner.
The Practical Interpretation
A controlled two-step method can be highly accurate when:
- the wash space is uniform;
- the putty can be reseated without interference;
- excess wash has a route to escape;
- the preparation anatomy allows predictable repositioning.
A one-step method can be highly effective when:
- margins are accessible;
- tissue and moisture are well controlled;
- the team can syringe and load within the available working time;
- putty and wash have compatible handling behavior;
- the tray can be seated smoothly in one movement.
The technique should match the situation in which the impression is being taken.
Where Putty Wash Impressions Usually Fail
In practice, many impression problems are caused before the question of one-step versus two-step becomes important.
1. The Finish Line Is Not Accessible
Light-body material cannot record anatomy that is covered by tissue, blood or pooled fluid.
This is particularly important with subgingival margins. Adequate tissue displacement and hemostasis need to create a path for the wash material to reach the finish line.
Improved wetting characteristics may help the material adapt to a clinically moist surface, but a hydrophilic VPS should not be expected to compensate for uncontrolled bleeding or a margin hidden under collapsed gingiva.
2. The Wash Layer Becomes Too Thin
This is a common concern with simultaneous putty-wash impressions.
When high-viscosity putty occupies too much space, light body can be pushed away from the preparation. Very thin sections also become more vulnerable during removal.
Chemoment's Light Body VPS Impression Material is intended as the lower-viscosity component for procedures including crowns, bridges, veneers, inlays, onlays and final impressions.
The more useful way to evaluate a wash material, however, is not simply to ask how fluid it feels.
For margin work, buyers should consider:
- flow under syringing pressure;
- ability to stay around the preparation;
- working time;
- wetting behavior;
- detail reproduction;
- tear resistance in thin sections;
- recovery after removal.
A material that flows easily but cannot maintain a stable thin margin is not necessarily a better wash material.
3. The Syringe Tip Pulls Air Into the Wash
Once syringing has started, keeping the tip within the advancing light-body material helps maintain a continuous layer.
Repeatedly lifting the tip away from the material and restarting can trap air, especially around line angles and interproximal areas.
A void at a non-critical surface may be harmless. A void through the finish line can make the impression unsuitable even when the rest of the arch looks excellent.
4. The Team Runs Out of Working Time
This matters most in a one-step procedure because several tasks happen within the same handling window.
Mixing putty, loading the tray, syringing multiple preparations and seating the tray all consume working time.
Room temperature also matters. A timing specification measured under controlled conditions should not be interpreted as a promise that every clinical environment provides exactly the same handling window.
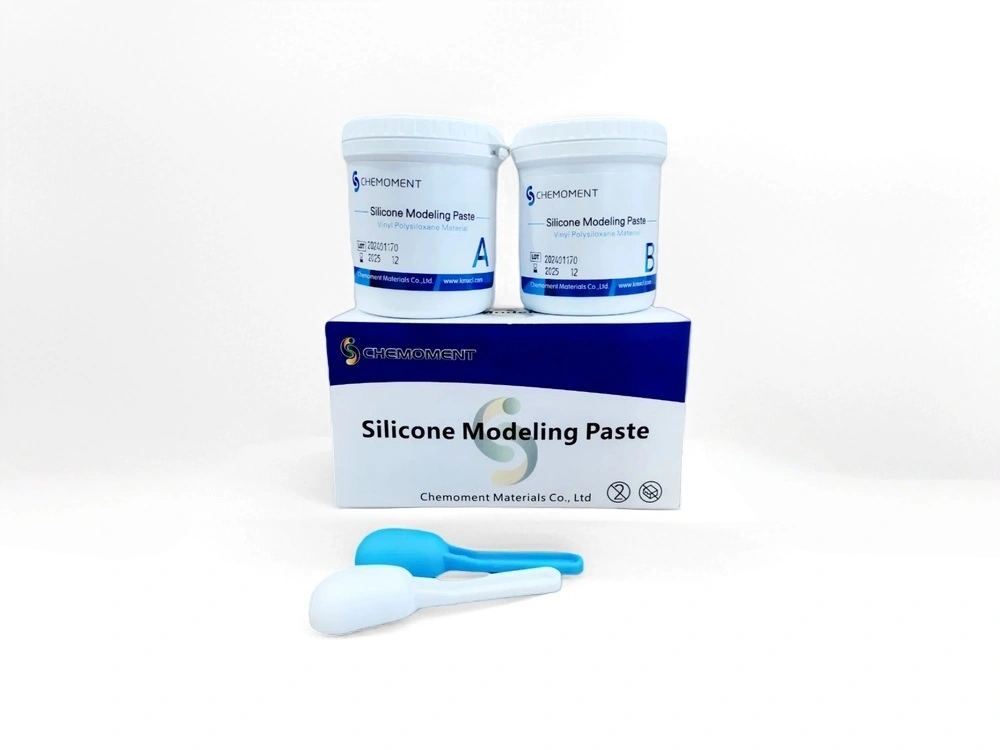
Chemoment's jar-pack Hydrophilic VPS Putty Impression Material currently lists a 30-second manual mixing time and a total working time of approximately 1 minute 30 seconds at 23°C. The company's light-body VPS also lists approximately 1 minute 30 seconds total working time at 23°C.
Matching working-time figures are useful, but they should not be the only basis for pairing materials. The complete system still needs to be evaluated according to its instructions for use, including intraoral setting and removal timing.
5. A Two-Step Impression Does Not Reseat Fully
This is the failure mode that is easy to overlook.
The preliminary putty impression may capture undercuts or interproximal extensions that interfere with the second seating. Fresh wash also creates resistance as the tray returns to position.
If the putty stops even slightly short of its original position, the wash may reproduce an apparently sharp surface in the wrong spatial relationship.
A two-step impression should therefore be inspected not only for adequate relief but also for anything that could prevent repeatable seating.

How to Choose the Technique—and the Materials Behind It
For a straightforward single crown with accessible margins and a team familiar with simultaneous mixing, one-step putty wash is often the more practical workflow. It reduces handling and eliminates second-stage reseating.
Where the operator specifically wants a defined wash layer and can reliably control relief and reseating, two-step putty wash can provide greater control over wash bulk.
The decision becomes more useful when the material system is considered at the same time.
For a One-Step Technique, Pay Close Attention To:
Working-time compatibility.
The putty cannot become resistant to seating while the wash is still being syringed.
Putty seating behavior.
Very high resistance may increase displacement of the light body.
Wash flow under pressure.
The light body needs to move around the preparation without being completely squeezed away.
Contrast between viscosities.
Clear visual contrast makes it easier to see whether the margin was actually captured in wash rather than putty.
For a Two-Step Technique, Focus On:
Stable putty recovery.
The first impression must maintain its shape before the wash stage.
Relief control.
The purpose of the second step is lost if the available wash space varies unpredictably.
Putty-to-wash compatibility.
Fresh light body should function as intended against the cured putty surface.
Reseating behavior.
The tray needs to return without rocking or stopping short.
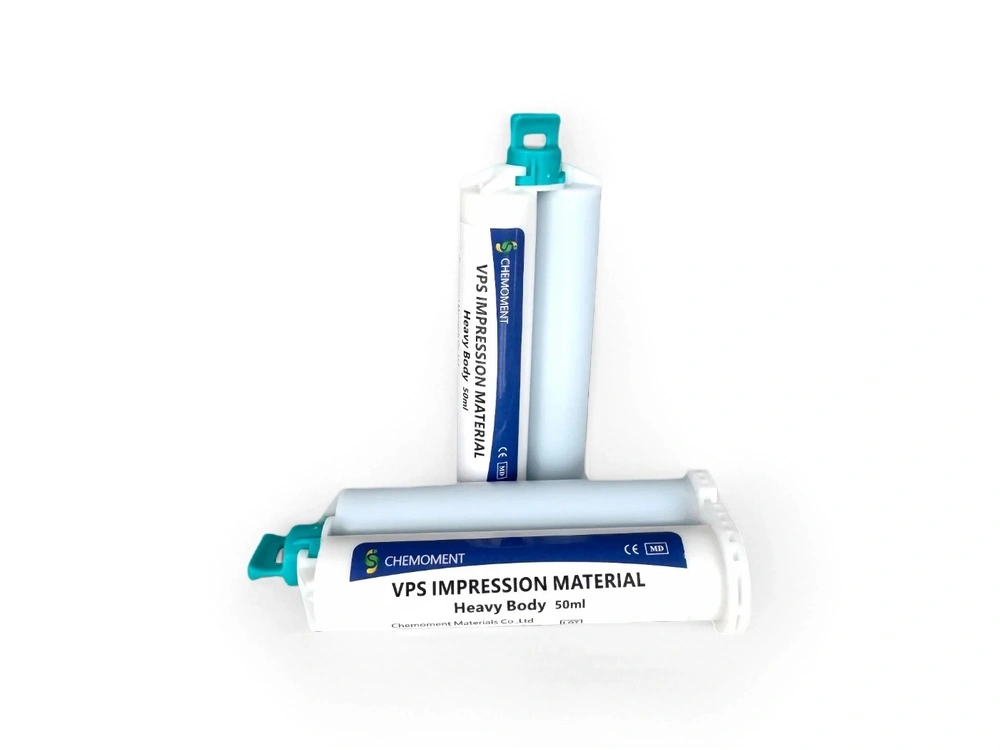
Chemoment's broader VPS dental impression material range for clinics and professional buyers includes putty, light body, medium body, heavy body and bite registration materials. This makes it more useful to evaluate products according to technique rather than treating every VPS viscosity as interchangeable.
For distributors and private-label buyers, sample evaluation should reproduce the intended clinical workflow.
Do not evaluate putty only by pressing it between the fingers or light body only by watching how quickly it flows from a mixing tip. Test the pair through the full sequence: mix, load, syringe, seat, set and remove.
Useful comparison points include:
- batch-to-batch viscosity consistency;
- cartridge extrusion behavior;
- manual putty mixing consistency;
- color contrast;
- available working time;
- wash behavior around fine anatomy;
- tear behavior in thin areas;
- elastic recovery;
- putty/wash interface;
- final removal characteristics;
- packaging and dispensing format.
VPS and PVS terminology should not complicate that evaluation. In dental use, the terms normally refer to the same addition-silicone material family; performance differences come from the formulation and viscosity rather than the abbreviation on the package.
Chemoment explains this distinction in its VPS vs PVS impression material guide.
Frequently Asked Questions
Is a Two-Step Putty Wash Impression More Accurate Than a One-Step Impression?
Not automatically.
Controlled laboratory studies often report better dimensional accuracy for two-step techniques when a uniform wash space is deliberately created. Clinical studies have produced different results, including trials where one-stage putty-wash impressions reproduced finish lines more accurately.
The outcome depends on wash-space control, reseating, preparation location, tissue management, moisture and the materials being used.
How Much Wash Space Should Be Created for a Two-Step PVS Impression?
Many laboratory studies have evaluated controlled spaces in the region of 1–2 mm, and several have reported favorable accuracy at these thicknesses. That should not be treated as a universal prescription for every material.
The manufacturer's instructions and the specific impression system remain important. What matters most is avoiding an uncontrolled, highly uneven wash layer.
Can PVS Putty and Light Body Be Used at the Same Time?
Yes. That is the basis of the one-step or simultaneous putty-wash technique.
The putty provides bulk and tray support while the light body records finer preparation detail. Their working characteristics need to be compatible with the amount of clinical manipulation required before seating.
Why Does Putty Sometimes Appear at the Crown Margin?
During a one-step impression, the higher-viscosity putty can displace unset light body as the tray is seated. If there is insufficient wash around the preparation, part of the margin may end up recorded in putty.
Adequate light-body placement, appropriate material pairing and controlled tray seating help reduce this risk.
Is It Better to Add Light Body to a Defective Impression or Take a New Impression?
A small defect away from a critical area may not always invalidate the record, but relining an already set crown impression introduces a reseating problem similar to a two-step technique.
If the defect involves the preparation finish line, distortion, tray movement or incomplete seating, a new impression is generally easier to evaluate than trying to hide the original problem with another layer of wash.
The Bottom Line
The one-step vs two-step putty wash impression technique should not be reduced to “fast versus accurate.”
One-step techniques remove the uncertainty of a second seating but provide less control over wash thickness.
Two-step techniques make controlled wash space possible, yet that advantage depends on precise relief and exact reseating.
The research reflects that trade-off. Controlled laboratory models often favor a two-step technique with defined wash space, while clinical studies show that real intraoral factors can change the result substantially.
For clinicians, the most sensible technique is the one that controls the largest source of error in the actual case.
For distributors, clinics standardizing their material system and private-label buyers, putty and light body should be evaluated as a matched working pair, not as two separate specification sheets.
Before selecting a VPS putty-wash system for repeat purchasing, compare the combination under the intended technique: working time, flow, seating resistance, wash distribution, recovery, tear behavior and consistency between repeated impressions.
That tells you considerably more about how the system will perform than the words one-step or two-step alone.
For product samples, technical specifications or VPS impression material supply, buyers can contact Chemoment with the intended technique, required viscosities, packaging format, target market and estimated purchasing volume.