
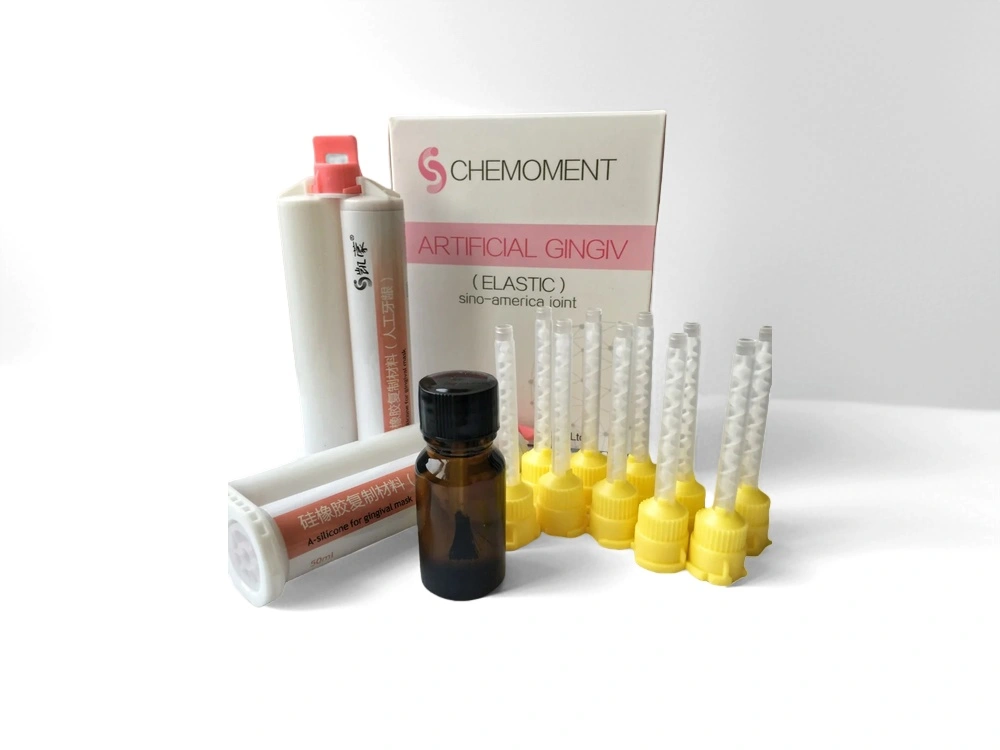
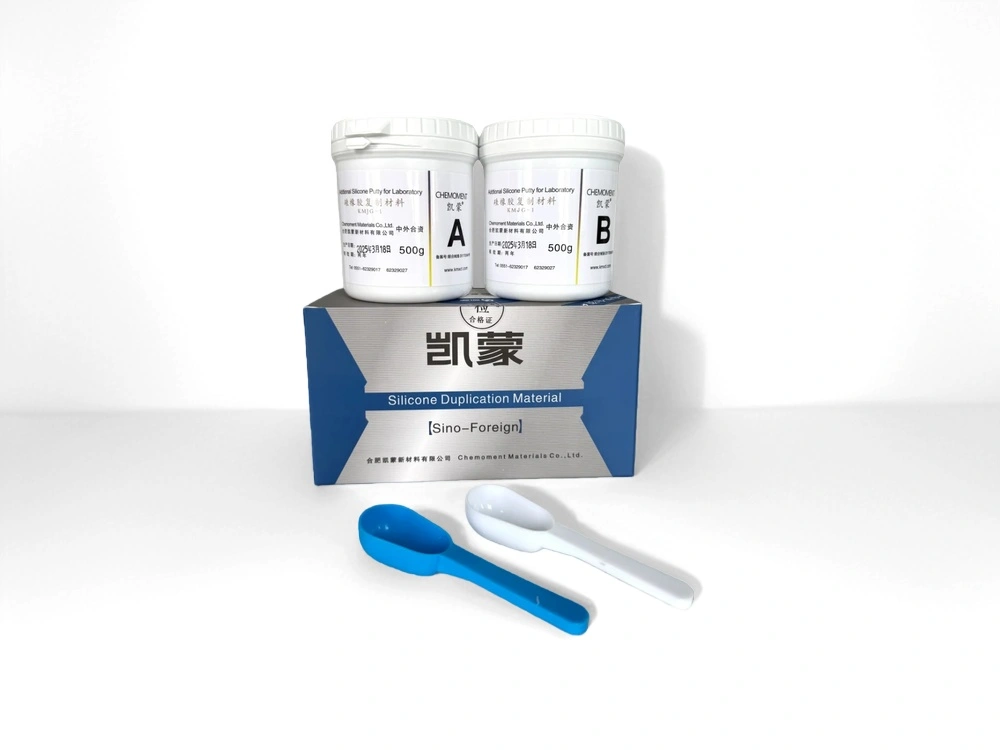
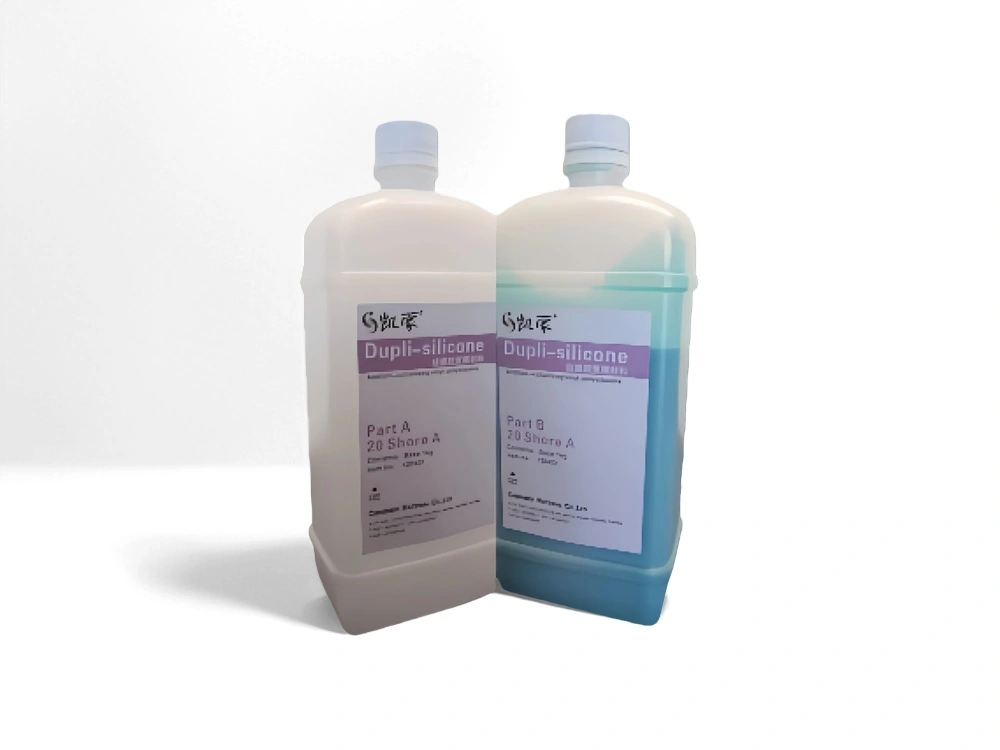
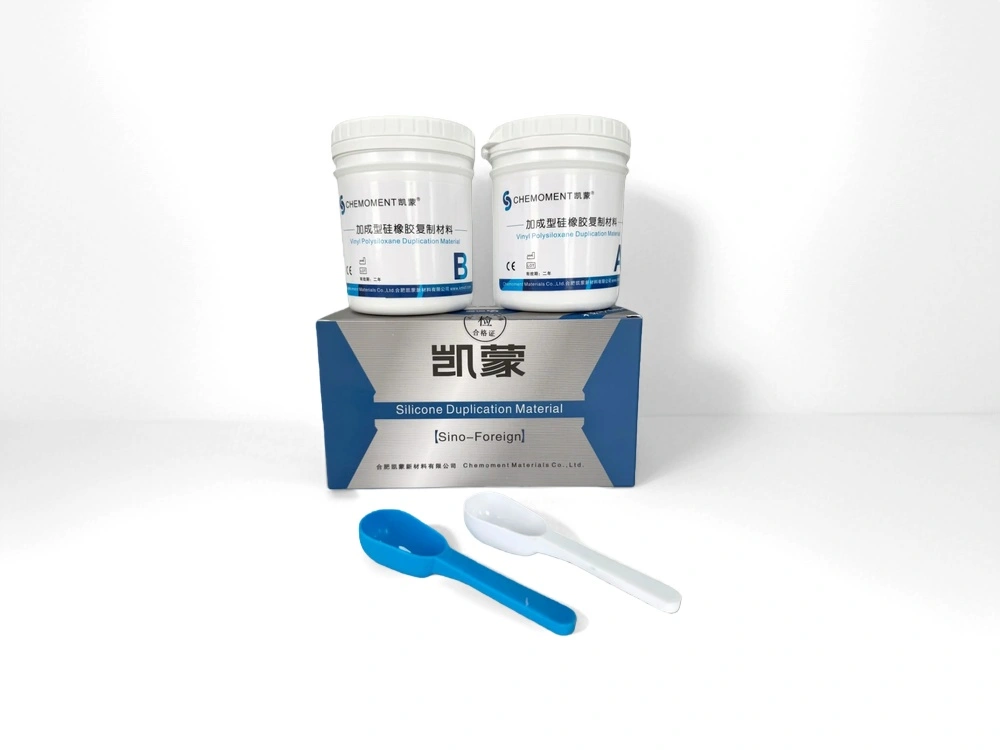

We offer elastic and rigid gingival mask silicones for dental laboratory applications. When selecting between our two formulations for an implant model, we recommend starting with the removal path, model support and finishing requirements. The selected material should allow the mask to be removed and repositioned without damage or loss of the required contour.
Our elastic version is the first option to evaluate when removal requires deformation around retentive contours. Our rigid version is an option for models with a clear removal path where firmer handling and finishing are priorities. These are starting points for selection; suitability should be confirmed on a representative model.
We use Shore A hardness to distinguish the firmness of our formulations. We do not treat hardness as a substitute for evaluating tear behaviour, repeatable seating or compatibility with the intended laboratory process.

Our Selection Guide: Flexible vs Rigid Gingival Mask Silicone
We recommend matching the material to the work performed on the completed mask. A cured strip can indicate firmness, but it cannot reproduce the behaviour of a thin collar, a retentive contour or a large removable segment.
| Model or workflow requirement | Our recommended starting point | What to confirm |
|---|---|---|
| The mask must deform around retentive contours during removal. | Evaluate our elastic version first. | Removal without tearing, followed by complete repositioning. |
| The mask is removed frequently to inspect implant components. | Select according to the removal path; evaluate the elastic version where deformation is necessary. | Collars and connecting sections remain intact through repeated handling. |
| The removal path is clear and substantial finishing is required. | Evaluate our rigid version. | Controlled finishing while preserving the intended contour. |
| The mask moves under routine handling pressure. | Check support and positioning before increasing hardness. | The replica has a defined seat and adequate support. |
| Thin edges or narrow sections repeatedly tear. | Review geometry, removal direction and material behaviour together. | The cause is identified rather than attributed to hardness alone. |
| The workflow includes printed models or optical scanning. | Confirm compatibility separately. | Curing, separation and surface capture are acceptable in the intended workflow. |
Our Elastic and Rigid Gingival Mask Specifications
Our gingival mask silicone for dental laboratories is available in two hardness options:
| Technical specification | Elastic version | Rigid version |
|---|---|---|
| Shore A hardness | 42 ± 2 | 70 ± 2 |
| Total working time at 23°C | 1 minute 40 seconds | 1 minute 40 seconds |
| Setting time at 23°C | 7 minutes | 7 minutes |
These values apply to the listed formulations. Follow the instructions supplied with your selected product for preparation, timing and handling. Confirm the reference point used for setting time rather than assuming it is an additional waiting period after working time.
What the Hardness Difference Means
Shore A hardness describes resistance to indentation under defined test conditions. Our rigid version provides a firmer cured material than our elastic version, but this difference does not independently establish dimensional accuracy, tear strength or elastic recovery.
“Rigid” is relative within this silicone range. It does not mean that the material behaves like dental stone or rigid model resin. Likewise, we supply the elastic version as a laboratory soft-tissue replica material, not as a calibrated simulation of an individual patient’s tissue response.
When We Recommend Evaluating the Elastic Version
Removal Requires Deformation
We recommend evaluating our flexible gingival mask silicone when the replica needs to deform around a contour during removal. Pay particular attention to the region carrying the greatest removal load, such as a narrow collar or a connection between larger sections.
Assess the complete removal-and-replacement sequence. After returning the mask to the model, release seating pressure and inspect the reference areas. Look for:
- A collar folded inward around a component.
- A gap between the replica and its supporting surface.
- An edge that remains lifted.
- A contour that changes when finger pressure is released.
Easy removal is only part of the requirement. The mask must also return to a consistent position. If it does not, we recommend reviewing the locating surfaces and support before changing the formulation.
Repeated Access Is Necessary
Where technicians repeatedly remove the mask to inspect implant components or restoration contours, the same movement can place repeated stress on a small area.
During sample evaluation, reproduce the handling sequence required for your work. Inspect vulnerable sections afterward and record local stretching, tearing or changes in seating.
If damage consistently appears at one location, check whether a thin section carries most of the removal load or whether the mask is being pulled through an unnecessarily restrictive path.
We recommend assessing tear behaviour separately from softness. Published research evaluates tear and tensile properties of gingival mask materials under defined conditions and at specific time intervals; a hardness value alone does not provide that information.[1]
When We Recommend Evaluating the Rigid Version
Firmer Handling and Finishing Are Priorities
Our rigid gingival mask silicone provides a higher-hardness option for implant prosthesis model work. We recommend evaluating it where the replica has adequate support, an unobstructed removal path and a requirement for firmer handling during finishing.
Use the instruments and procedure intended for production. Assess whether material removal can be controlled and whether the technician can preserve the required contour. Inspect finished edges for damage and unintended loss of material.
The hardness specification identifies the formulation’s firmness. A representative finishing trial establishes whether its handling characteristics suit your procedure.
The Mask Can Be Removed Without Forcing
Before selecting a firmer formulation, check for unnecessary extensions, surface irregularities and retentive features along the removal path.
A rigid mask should not have to be forced past an obstruction. Where removal requires substantial deformation, we recommend reviewing the geometry and considering whether the elastic version is more appropriate.
The Seat Is Complete and Repeatable
A firm replica can feel secure while remaining slightly out of position. We recommend checking visible reference areas and contact surfaces rather than judging seating from tightness alone.
Rocking, a persistent gap or the need for continuous pressure indicates that the seat needs investigation. A tightly wedged replica should not be accepted as correctly positioned.

We Assess Model Geometry Alongside Material Hardness
When discussing a material selection, we recommend reviewing three features of the proposed mask:
- Removal path: Where must the replica deform, and does access allow controlled removal?
- Section geometry: Are thin collars or narrow connections vulnerable during handling?
- Support and location: Can the technician recognize complete seating, and is the replica supported where work is performed?
As an illustrative selection situation, a compact mask with a clear removal path and substantial finishing requirements is a reasonable candidate for our rigid version. A segment that must deform around a retentive contour is a reasonable candidate for our elastic version.
We do not specify a universal minimum thickness in this guide. Section requirements depend on the formulation, geometry and removal load. Where thin sections create difficulty, evaluate those factors together.
Why We Do Not Equate Greater Hardness with Greater Accuracy
A 2023 in vitro study by Ak and Bilgin compared gingival mask materials and fabrication approaches using a model with six parallel implants. Under the investigated conditions, the harder addition-silicone group showed greater analog angular deviation than the other tested material groups.[2]
This study did not evaluate our products. We cite it to explain why hardness alone is insufficient for predicting model accuracy, not to claim that flexible materials are universally more accurate.
Also distinguish the fit of the gingival replica from the position of the implant analogs. A well-seated mask does not independently verify analog position or correct an inaccurate underlying model.
Our Recommended Checks Before Changing Hardness
| Observed problem | What we recommend checking first | Selection implication |
|---|---|---|
| Difficult removal | Undercuts, extensions, surface irregularities and removal direction. | Consider greater flexibility after assessing interference. |
| Rocking or incomplete seating | Debris, folded edges, contact surfaces and locating features. | A hardness change may leave the original cause unresolved. |
| Repeated tearing at a thin collar | Section geometry, removal load, curing conditions and the location of damage. | Compare tear behaviour rather than choosing solely by hardness. |
| Movement under handling pressure | Support beneath the replica and unsupported extensions. | A firmer formulation may help once support is satisfactory. |
| Poor control during finishing | Instruments, technique and the condition of the cured material. | Compare finishing behaviour on representative samples. |
| Tacky or incompletely cured contact surface | Mixing, timing and compatibility with contacting materials. | Investigate processing and compatibility before changing hardness. |
Printed Models and Scanning: What We Need to Confirm
If you use printed models, provide the resin type and the washing, drying and post-curing procedure when discussing material selection with us.
We recommend checking the silicone–model interface after curing for adhesion, incomplete curing and surface defects. Follow the relevant instructions for any required separator. A successful trial on one resin does not establish compatibility with every printed substrate.
Physical compatibility and scannability are separate requirements. We do not infer optical performance from colour or Shore A hardness.
Where scanning is part of your workflow, confirm the selected formulation’s suitability and evaluate it with the intended scanner and permitted surface treatment. Inspect fine contours, missing data and consistency between scans.
How We Recommend Comparing Samples
Before approving either formulation, define what the mask needs to accomplish and test it on representative models. Keep geometry and evaluation conditions consistent while following the instructions for each material.
The checklist below is our suggested internal assessment framework. It is not a standardized test method or a report of completed comparative testing.
| Evaluation stage | Acceptance question |
|---|---|
| Application and curing | Can the required region be filled within the working time, and does it cure appropriately under the instructed conditions? |
| Removal | Can the mask be removed without unacceptable damage or disturbance to the model? |
| Repositioning | Does it return to a complete seat without rocking, folded edges or sustained pressure? |
| Repeated handling | Does it preserve its required contour and section integrity through the intended sequence? |
| Finishing | Can the technician finish the replica while maintaining the intended geometry? |
| Digital use, where required | Does the specified scanning process capture the necessary surface consistently? |
Record the formulation, batch, ambient temperature, accessories and timing. Photograph the same reference areas before and after handling. Where several technicians participate, collect their observations using the same questions.
For distribution and private-label projects, we recommend retaining the approved specification and evaluation record for repeat orders. Feedback tied to a model, procedure and visible result helps us assess your requirements more effectively than descriptions such as “too soft” or “too hard.”
Frequently Asked Questions
Should we stock both your elastic and rigid gingival mask silicones?
We recommend considering both when your laboratory regularly handles different removal and finishing requirements. Establish a selection rule through sample trials rather than assigning one version to all implant models.
Can ordinary laboratory putty replace a gingival mask material?
We do not recommend selecting a substitute on hardness alone. Its intended use, application behaviour, removal characteristics and compatibility must support the soft-tissue replica procedure.
What information should we send with a sample request?
Send us the model material, mask geometry, fabrication method, removal requirements and finishing procedure. Include resin and scanner details where relevant. Photographs of the model or a recurring defect can help clarify the task.
Order & Project Support
We supply elastic and rigid gingival mask silicone for dental laboratory applications. To help us recommend a suitable formulation, share your model and workflow requirements, including the removal or finishing problem you need to address.
For distribution or private-label supply, also provide the target market, packaging requirements and estimated order volume. We recommend approving the selected version against your intended procedure, with controlled removal, complete repositioning and preservation of the required contour as the central criteria.
References
- Comparative Evaluation of Tear Strength and Tensile Strength of Different Types of Gingival Mask Materials: An In Vitro Study. Cureus. 2024;16(8):e67944. doi:10.7759/cureus.67944.
- Ak B, Bilgin T. In Vitro Evaluation of the Effect of Soft Tissue Samples Produced Using Different Gingival Masks on Implant Angulations. Essentials of Dentistry. 2023;2(3):70–79.