

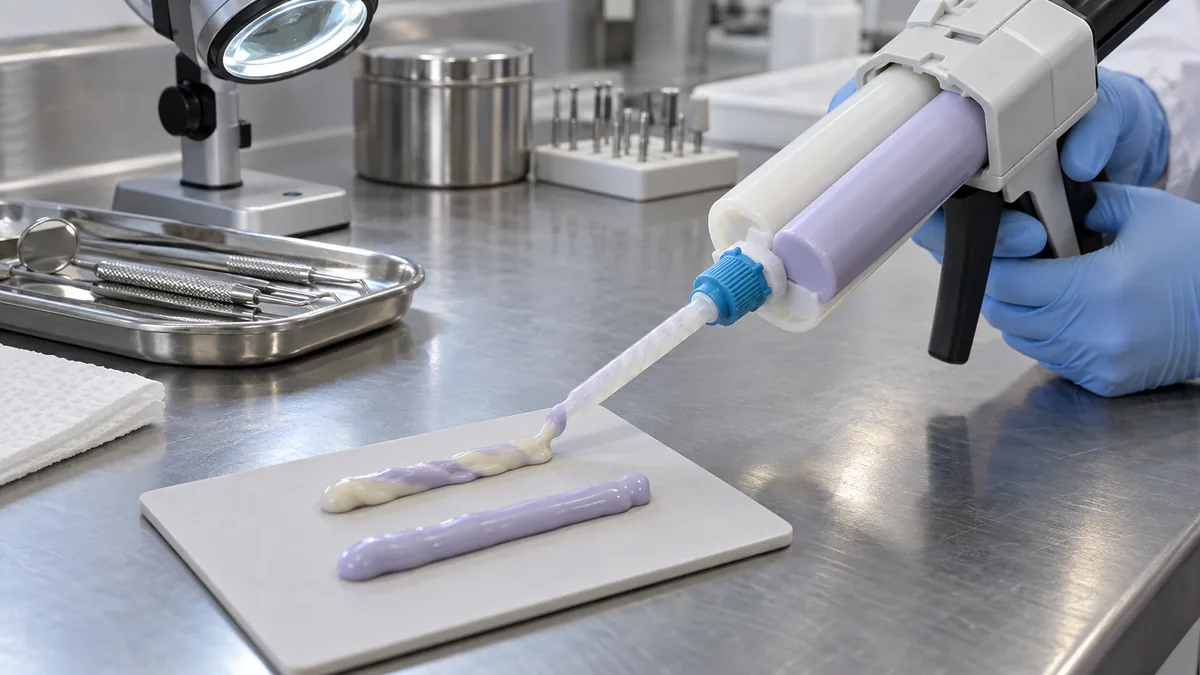
Unmixed streaks and soft spots in a 50 ml automix VPS cartridge usually indicate a problem in the dispensing path, not simply a failure of the VPS material itself. When we investigate this type of defect, we separate the problem into four areas: cartridge seating, mixing-tip flow, A/B component delivery and curing after extrusion.
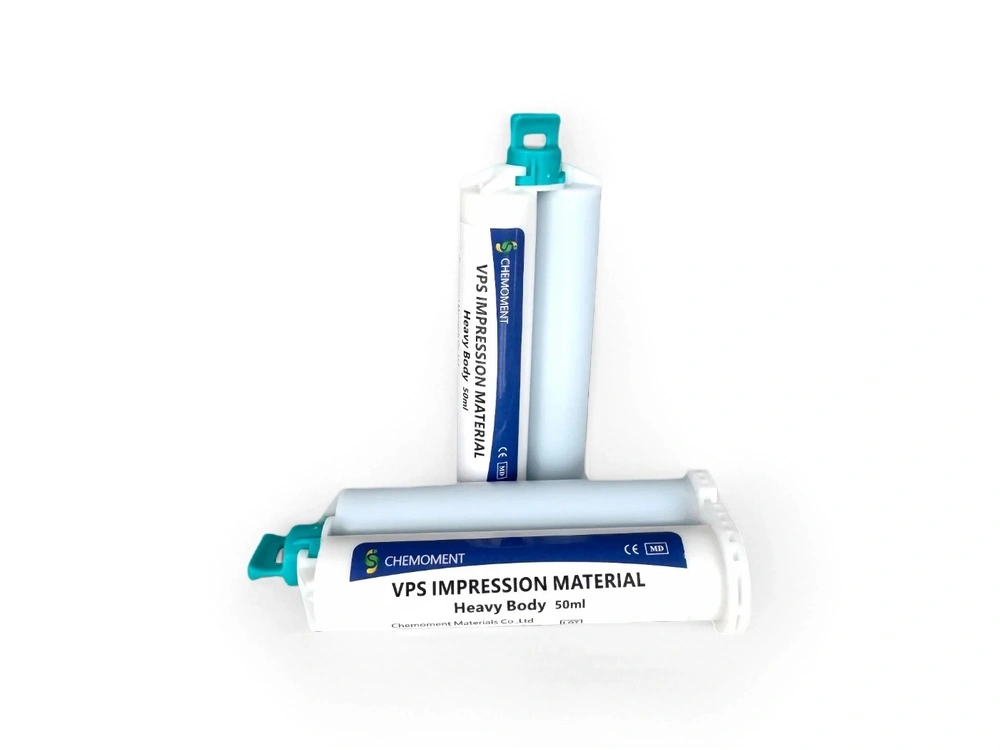
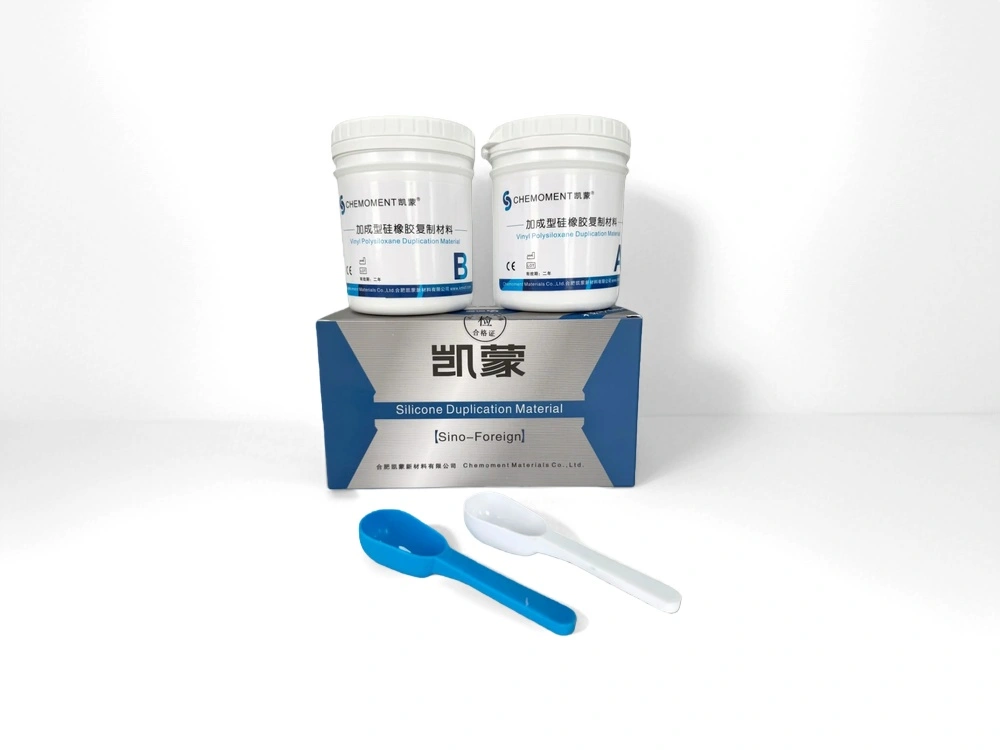
Chemoment supplies Light Body, Medium Body and Heavy Body VPS in 50 ml + 50 ml cartridge packaging with mixing tips. These materials have different viscosities and hardness levels, but the troubleshooting logic is similar. We first check whether the two components are being pushed forward evenly, whether the material exits with a uniform color, and whether the extruded VPS reaches the expected hardness after curing.
A short streak at the beginning of extrusion may have a different cause from a soft line running through the entire impression. The location and shape of the defect are important.
How Unmixed VPS Usually Appears
| Observed defect | What it may indicate |
|---|---|
| Different color streaks at the beginning of dispensing | The two components have not reached the mixing section evenly |
| A soft line running through the cured material | Incomplete mixing or unstable A/B component delivery |
| One isolated soft area | Local flow interruption, trapped unmixed material or a cartridge channel problem |
| The entire bead remains soft | Incorrect storage, expired material, major mixing failure or curing inhibition |
| Material becomes harder to extrude during use | Partially cured material in the tip, outlet restriction or uneven plunger movement |
We do not judge the cartridge only by the first few millimeters of material. We also inspect the material after curing and compare the hardness across different parts of the same bead.
1. The Cartridge Is Not Seated Evenly in the Dispenser
A 50 ml automix cartridge contains two components that must be pushed forward at the same time. If the cartridge is not seated correctly, one plunger may move before the other. The material can then enter the mixing tip with an incorrect ratio.
This problem may produce:
- Visible color variation;
- A soft section inside an otherwise cured bead;
- Uneven extrusion pressure;
- Material from only one side of the cartridge;
- A noticeable change in the bead after the dispenser is triggered.
When we check a cartridge, we first confirm that both plungers are aligned with the dispenser mechanism. The cartridge should not move inside the gun, and both components should advance smoothly when pressure is applied.
If the cartridge is tilted or one side is not fully engaged, replacing the mixing tip alone may not solve the problem. The A/B ratio must be corrected at the dispensing stage.
2. The Mixing Tip Is Not Installed Correctly
The mixing tip is the section where the two VPS components are combined before they are applied. If the tip is not fully attached, the components may enter the mixing path unevenly or escape around the connection.
We check the following points:
- Whether the tip is fully locked onto the cartridge;
- Whether the outlet is blocked by cured material;
- Whether the tip has been damaged during installation;
- Whether the material is being forced through excessive resistance;
- Whether a previously used tip has partially cured inside.
A partially blocked tip can create an uneven pressure difference between the two components. One component may continue moving while the other is restricted. The resulting material may look mixed at first but later show soft streaks or different hardness after curing.
For this reason, we recommend checking the material exiting from the tip rather than judging the cartridge only by the pressure felt at the dispenser.
3. The First Material Has Not Been Purged
When a new tip is attached, the material at the front of the mixing path may not yet be fully uniform. If this initial material is used directly for an impression, unmixed streaks can enter the wash layer or tray material.
Before clinical use, we recommend purging a short amount of material until the extrusion becomes uniform in color and texture. The first material should not be used to record a critical margin.
This check is especially important for Light Body VPS because the material is placed in thin layers around prepared margins. A small amount of incompletely mixed material can create a soft line exactly where the laboratory needs a continuous detail record.
The same principle applies to Medium Body and Heavy Body VPS. Their higher body can make a partial mixing problem less obvious during dispensing, but the defect may become visible after curing or trimming.
4. Different VPS Viscosities Create Different Extrusion Resistance
Chemoment’s 50 ml automix range includes Light Body, Medium Body and Heavy Body VPS. These products are not expected to feel identical during extrusion because they are designed for different clinical roles.
| Product | Technical role | Published hardness | Reference setting data at 23°C |
|---|---|---|---|
| Light Body VPS | Fine-detail wash material for margins and gingival areas | Shore A 50±2 | 1:30 working time; 3:30 time in mouth; 5:00 setting time |
| Medium Body VPS | Balanced flow and support for general impression workflows | Shore A 55±2 | 1:30 working time; 3:30 time in mouth; 5:00 setting time |
| Heavy Body VPS | Higher-body tray material with stronger structural support | Shore A 60±2 | 1:30 working time; 3:30 time in mouth; 5:00 setting time |
If the dispenser is suitable for one viscosity but creates excessive resistance with another, the cartridge may not be dispensing correctly even when the material itself is within specification.
We therefore evaluate the cartridge, dispenser and material as one system. A change from Light Body to Heavy Body should not be made without checking whether the dispensing force and mixing-tip resistance are still appropriate.
5. Stop-and-Start Dispensing Can Disturb the Mixing Front
Repeatedly pressing and releasing the dispenser can create an irregular extrusion front. The material may stop inside the tip while pressure remains uneven between the two components.
This does not mean every interruption will create a defect. The risk becomes higher when the tip already has increased resistance or when the material has started to cure near the outlet.
During a troubleshooting test, we prefer a continuous, controlled extrusion. If the material is applied in several separate starts, each restart should be checked for color uniformity before it is placed in a critical area.
6. Storage Temperature Can Change Cartridge Performance
VPS components are sensitive to storage and working temperature. Material that has been exposed to unsuitable temperatures may show changes in viscosity, extrusion resistance or curing behavior.
When a customer reports that only one shipment or one batch produces soft areas, we compare:
- Storage temperature before use;
- Time in transport and warehouse storage;
- Whether the cartridge was exposed to direct heat;
- Whether the material was used immediately after a large temperature change;
- Whether the same problem occurs with another cartridge from the same batch.
A cartridge should be evaluated after it has reached the intended working temperature. Testing a cold or overheated cartridge and comparing it with a normally conditioned cartridge can produce misleading conclusions.
7. A Soft Spot Is Not Always an Unmixed Spot
Softness can also result from curing inhibition, contamination or incomplete setting. The location of the soft area helps us distinguish these causes.
| Softness pattern | Our first technical interpretation | Next check |
|---|---|---|
| A narrow line with a different color | Incomplete A/B mixing | Cartridge seating and mixing tip |
| A soft area close to the surface | Contamination or local curing interference | Contact surface and handling environment |
| The full bead remains soft | Major ratio, storage or curing problem | Batch, storage history and complete dispensing system |
| Only the first extrusion is soft | Unpurged material at the tip entrance | Fresh tip and uniform purge |
For this reason, we do not accept a visual color check as the only release test. The material should also be allowed to cure and then checked for hardness and consistency across the bead.
Our Cartridge Check Before Clinical Use
When we evaluate a 50 ml automix VPS cartridge, our basic sequence is:
- Check the cartridge label, storage history and expiry information;
- Seat both sides of the cartridge evenly in the dispenser;
- Attach a clean mixing tip and confirm that it is fully locked;
- Extrude a short amount until the color and texture become uniform;
- Continue dispensing without excessive stop-and-start movement;
- Allow a test bead to cure under the intended working conditions;
- Check the cured bead for soft lines, different hardness and incomplete curing.
If the same defect appears with several fresh tips on the same cartridge, we inspect the cartridge and dispensing system more closely. If the problem follows one cartridge while other cartridges perform normally, the cartridge itself may require further investigation.
When Should a Cartridge Be Rejected?
We recommend stopping use and recording the batch information when any of the following conditions continues after a fresh tip and correct cartridge loading:
- The two components continue to exit with visible color streaks;
- One side of the cartridge advances more slowly than the other;
- The material remains soft beyond the stated setting time;
- Different sections of the same bead have clearly different hardness;
- The defect appears repeatedly in separate impressions;
- The mixing tip repeatedly becomes blocked before normal use.
A single defective impression is not enough to identify the source. The cartridge, dispenser, tip, temperature and handling method should be checked under controlled conditions.
How Our VPS Cartridge System Supports Consistent Dispensing
Our Light Body, Medium Body and Heavy Body VPS products are supplied in 50 ml + 50 ml automix cartridges with mixing tips. This format is intended to reduce manual proportioning errors and provide consistent delivery during chairside use.
The cartridge format does not remove the need for correct loading, purging and tip replacement. It provides a controlled starting point, while the final result still depends on the complete dispensing process.
For Light Body VPS, consistent extrusion is particularly important because the material is used in a thin layer around prepared margins. For Heavy Body VPS, stable dispensing is important because the material provides tray support and structural bulk. Medium Body VPS must maintain a balance between flow and body during general impression procedures.
Final Technical Conclusion
Unmixed streaks or soft spots in a 50 ml automix VPS cartridge usually come from one of four areas: uneven cartridge loading, restricted mixing-tip flow, incomplete purging or unstable curing conditions.
At Chemoment, we diagnose the defect by looking at its pattern. A color streak suggests incomplete mixing. A soft line suggests an unstable A/B delivery ratio. A soft surface area may point to contamination or curing interference. A fully soft bead requires a broader check of storage, cartridge condition and dispensing equipment.
The correct troubleshooting order is simple: check the cartridge, check the mixing tip, purge until the material is uniform, test the cured bead and then compare the result with another cartridge from the same batch.
FAQ
Why does the first material from an automix cartridge look different?
The first material may not yet be fully uniform inside the mixing path. Purge a short amount until the color and texture become consistent before using the material for a critical impression area.
Can a blocked mixing tip create soft spots?
Yes. A partially blocked tip can create uneven resistance and disturb the delivery ratio between the two VPS components.
Why does the same cartridge become harder to extrude during use?
The outlet may be becoming restricted by partially cured material, or the cartridge may not be advancing evenly in the dispenser.
How can we distinguish a cartridge problem from a dispenser problem?
Test a fresh cartridge with a fresh mixing tip in the same dispenser. If the defect follows the cartridge, the cartridge requires further inspection. If several cartridges show the same defect, check the dispenser and operating method.
Does Heavy Body VPS require a different troubleshooting approach?
The basic checks are the same, but Heavy Body creates higher extrusion resistance than Light Body. The dispenser and mixing tip must be able to deliver the higher-viscosity material evenly.