
Quick answer: Addition-cured silicone can remain tacky or fail to cure when a 3D-printed resin model carries substances that interfere with the platinum catalyst. The problem may appear only where the silicone touches the printed part while the rest of the mix cures normally. It is therefore a material-compatibility and surface-condition issue, not automatically a defective silicone batch.
Not every photopolymer resin prevents cure, and not every addition silicone behaves in the same way. Test the exact resin, cleaning process, post-cure schedule, barrier method and silicone together. Do not approve a new workflow from a generic “compatible with silicone” statement alone.
What cure inhibition looks like
The most useful diagnostic sign is where the failure occurs. Record whether the silicone is:
- tacky only on the surface touching the printed model;
- cured on the outside but soft or smearable in a thin contact layer;
- soft throughout the entire batch;
- failing at the mixing-tip transition, along the cartridge outlet or only in one area of a mold;
- losing surface detail, pulling away from the model or leaving a residue on the printed part.
A surface-only problem points toward an interaction with the substrate. A batch that remains uniformly soft points first toward mixing ratio, dispensing, temperature, shelf life or catalyst distribution.
Why a printed resin can interfere with addition cure
Addition-cured VPS/PVS materials use a platinum-catalyzed reaction. Platinum catalysts are sensitive to certain chemical contaminants that can slow or stop the reaction. Depending on the resin and the preparation method, possible contributors include:
- residual uncured resin, monomers or reactive components on the printed surface;
- inhibitors or additives that migrate from the photopolymer;
- sulfur, amine, tin, phosphorus or other catalyst-inhibiting compounds;
- mold-release agents, cleaning solvents, adhesive residue or contaminated compressed air;
- sulfur-containing latex gloves or other contaminated handling equipment;
- a barrier coating that is itself incompatible with addition silicone.
These are potential mechanisms, not a universal statement about every 3D-printing resin. The exact risk depends on the resin chemistry and on how completely the model has been cleaned and post-cured.
First rule out problems in the silicone system
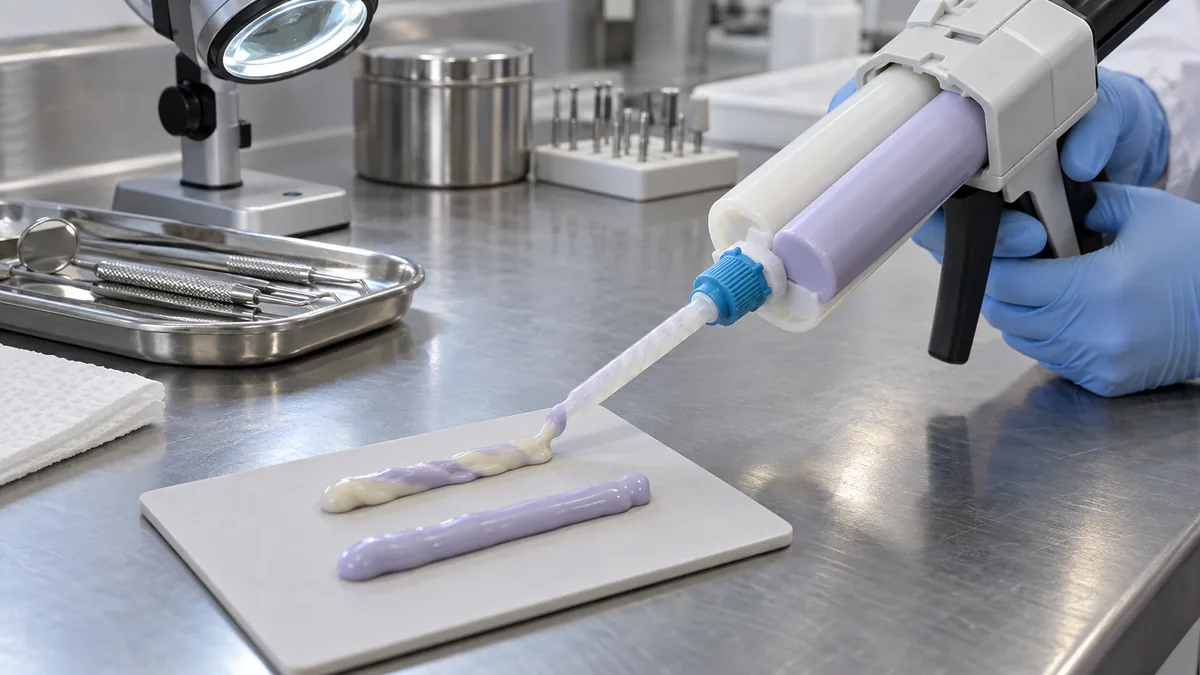
Before changing the printing process, confirm that the silicone system itself was used correctly. Check the product identity, lot number, expiry date, storage temperature and the correct A:B ratio. For cartridges, inspect cartridge seating, the outlet, the mixer and the dispenser. For hand-mixed products, check weighing, mixing time, spatula cleanliness and dead spots in the container.
Then make a small control sample that does not touch the printed model. A glass plate or clean polyethylene film provides a useful comparison surface. If the control also stays tacky, the substrate may not be the main cause.
| Observation | Most useful next check |
|---|---|
| Soft throughout the batch | Check ratio, cartridge seating, mixer, expiry, storage and temperature before blaming the model. |
| Cured on glass but tacky on the model | Treat the printed surface or use a validated barrier system; investigate resin compatibility. |
| Failure follows a new resin or cleaning process | Compare the old and new workflow with the same silicone batch. |
| Failure occurs only around a specific feature | Check trapped release agent, resin pools, uncured material or incomplete washing in that area. |
| Failure follows a change of gloves or equipment | Test for sulfur and other catalyst contaminants, including the dispensing path. |
Run a simple contact-surface test
A controlled test is more informative than repeatedly pouring full molds. Keep the variables small and write down the result.
- Use one silicone batch for all test pieces.
- Prepare three surfaces: the suspect printed model, a clean control surface and the printed model with the proposed barrier treatment.
- Apply the same silicone thickness, mixing method and cure temperature to each.
- Observe the first skin formation, through-cure and final tack.
- After the agreed cure time, repeat the surface inspection and compare detail reproduction and residue.
- Repeat with at least three production lots of the printed model and silicone before approving the workflow.
Do not judge only by the outer surface. Cut through a test pad or inspect a thin contact layer. Some inhibited systems form a skin while the surface next to the model remains uncured.
Prepare the 3D-printed model for the intended silicone
Follow the resin manufacturer’s instructions for washing and post-curing rather than inventing a general schedule. Common failure points are incomplete removal of uncured resin, solvent left inside fine cavities, overfilling of cleaning baths and insufficient post-cure.
Keep the process reproducible:
- identify the resin family and its recommended washing liquid;
- define the wash time, bath condition and drying method;
- use the validated post-cure wavelength, temperature and duration;
- inspect fine recesses and drainage paths for trapped resin or solvent;
- handle the model with clean gloves and clean tools;
- store the printed model in a way that prevents plasticizer, oil or release-agent transfer;
- verify that any primer or release agent is compatible with platinum-cured silicone.
Do not apply powders, petroleum products or an unknown release agent simply because they make demolding easier. Residue can interfere with cure, contaminate the model and reduce surface detail. If a barrier coating is necessary, select one approved for the resin and silicone system and test its effect on dimensional accuracy and detail reproduction.
Printed model or silicone contamination? A practical isolation test
Place a clean plastic film between the printed model and the silicone. If the silicone cures under the film but remains inhibited directly on the model, contamination or a resin-surface interaction is likely. If it remains soft under the film, examine the silicone mixing and delivery system.
Also check whether the problem follows the model or the silicone:
- same model with a fresh silicone lot;
- new model from the same print batch;
- different resin or post-cure schedule;
- same silicone on a clean glass or polyethylene control surface.
This test helps separate material defects from a workflow incompatibility. It also gives the supplier enough evidence to provide useful technical support.
How to prevent cure inhibition in production
Once a compatible combination is found, lock the process. Define the approved resin, cleaning liquid, wash protocol, drying method, post-cure schedule, barrier agent and silicone product. Train staff to recognise the difference between a soft contact layer and a batch-wide cure failure.
If the resin, printer, cleaning liquid, post-cure unit or silicone changes, requalify the combination. A “same material, different supplier” assumption is unsafe because the chemistry and surface residue can change.
Questions to send a silicone or resin supplier
A precise RFQ and troubleshooting request should include:
- the exact resin make and model, with its cleaning and post-cure instructions;
- the silicone product, lot number and mixing or cartridge system;
- a photo of the failure and its location;
- whether the silicone cures normally on a glass or polyethylene control surface;
- the model age and time since post-cure;
- all release agents, cleaners, gloves and dispensing accessories used;
- ambient temperature and humidity;
- the observed delay or failure time;
- whether the problem follows one print batch, one resin container or all models;
- whether dimensional accuracy, surface finish or residue is also affected.
Ask the supplier whether its material is intended for platinum-catalyzed addition silicone and whether the proposed barrier method has been validated. A supplier that understands the full workflow can recommend a controlled test instead of simply replacing the silicone.
When the silicone itself may be the cause
Cure inhibition is not the only reason for a soft or tacky material. The following faults can produce a similar result:
- incorrect A:B ratio or incomplete mixing;
- cartridge not seated correctly or a partial mixer blockage;
- wrong or incompatible mixing tip;
- expired material or storage outside the recommended range;
- low ambient temperature;
- a batch affected by contamination before dispensing.
Review the process for unmixed streaks and soft spots in automix cartridges before assuming that the model resin is responsible.
Choosing the right silicone for dental lab duplication
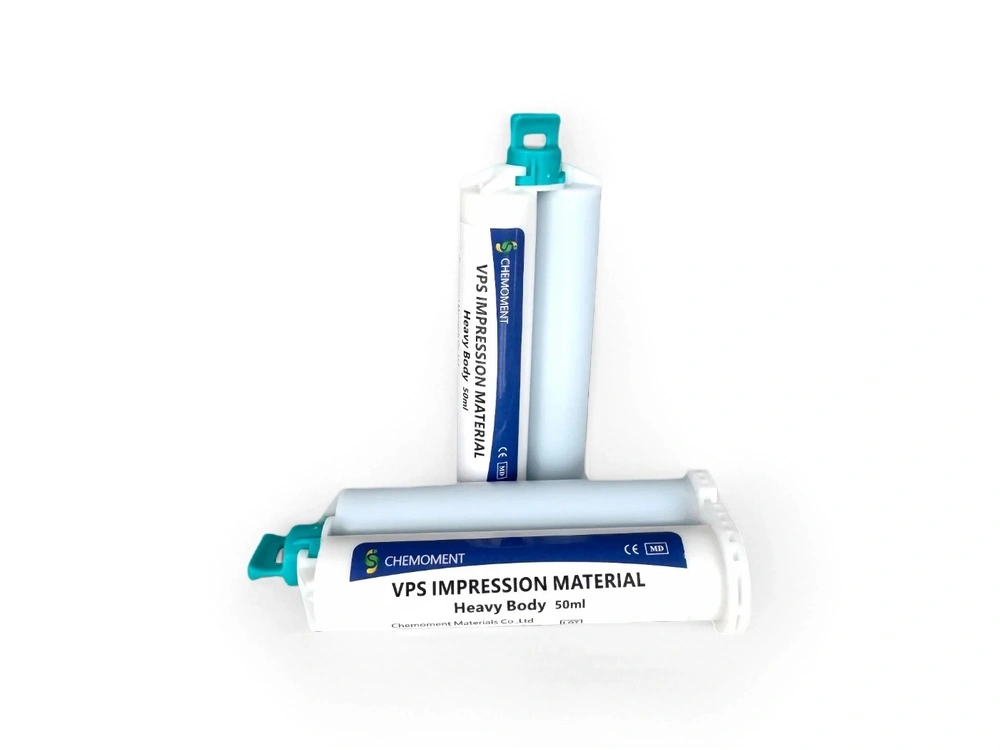
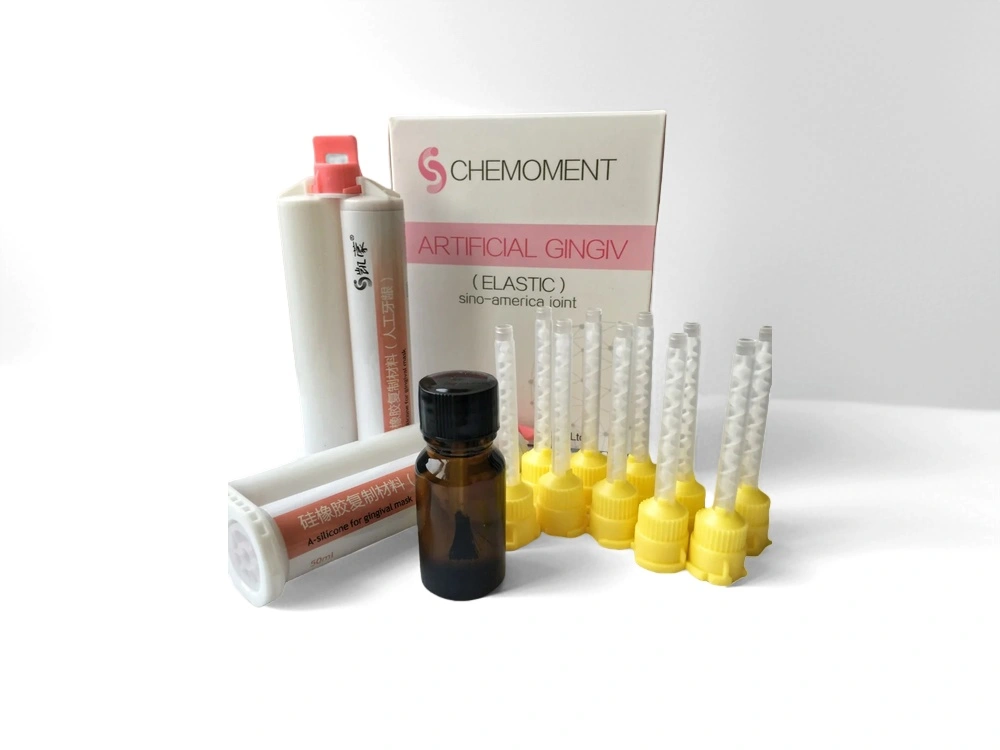
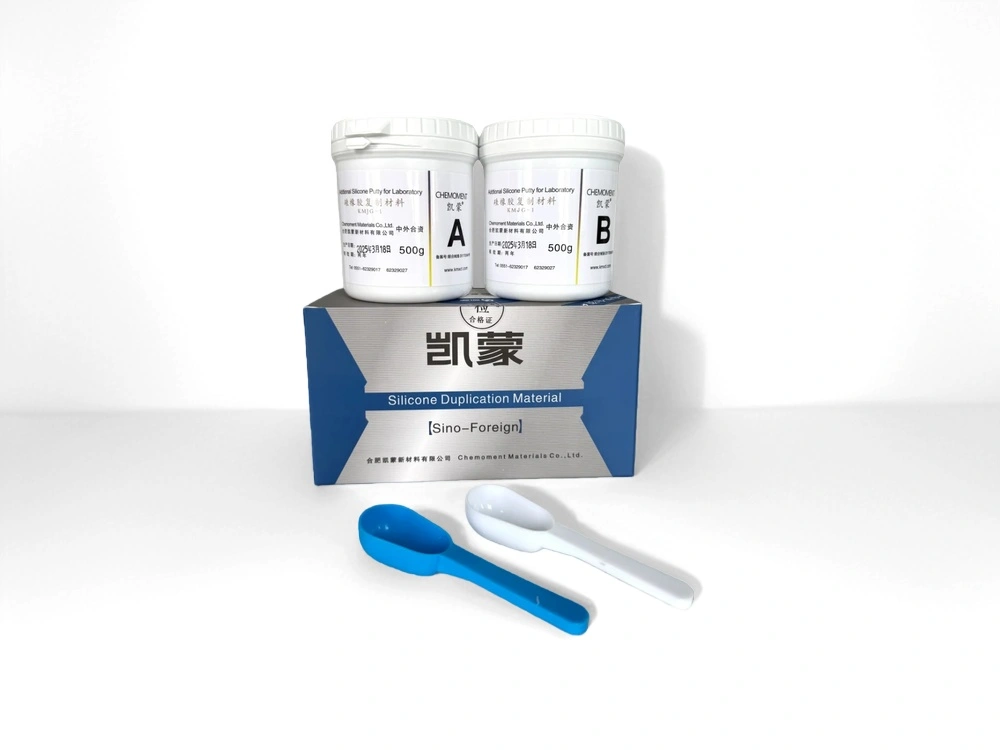
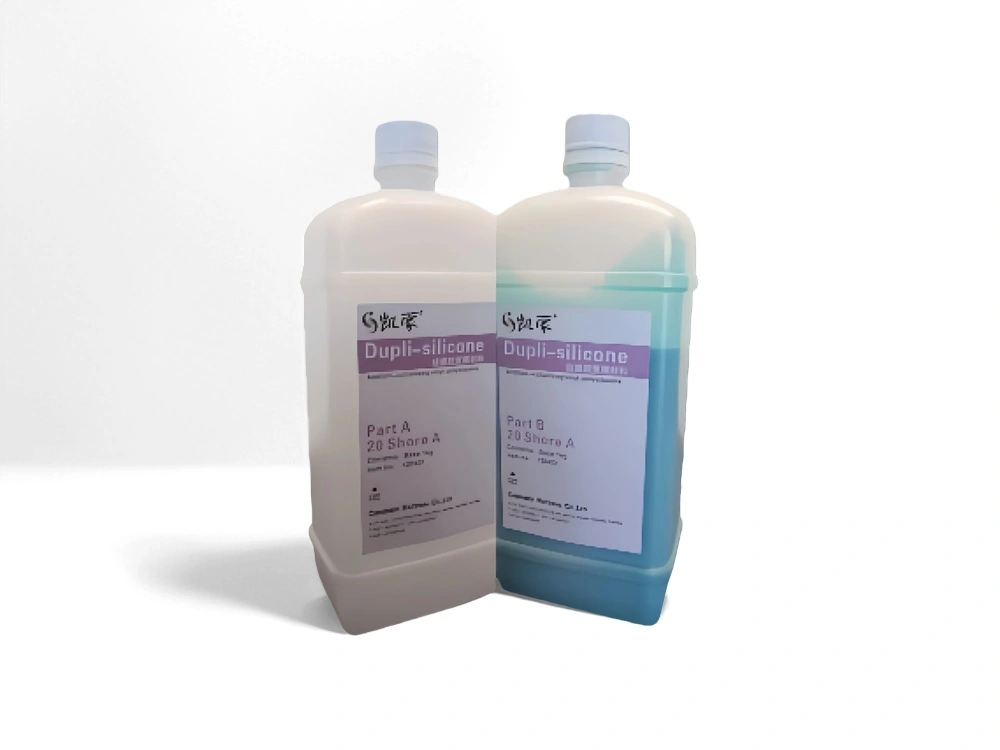
For models, duplication molds and other dental laboratory work, use a silicone specified for that purpose. Review dental duplication silicone for laboratory models and addition silicone for dental laboratories. If the process requires a custom working time or hardness, define the test conditions and acceptance range first using our custom VPS working time and hardness buyer checklist.
When comparing silicone chemistry, also review the difference between addition and condensation silicone. Platinum sensitivity is a specific concern for addition systems.
Frequently asked questions
Does every 3D-printed resin inhibit addition silicone?
No. Results depend on the resin formulation, the amount of residual uncured material, the cleaning and post-cure process, and the specific silicone. The exact combination should be tested.
Can one failed model tell us the resin is incompatible?
No. Confirm whether the failure follows the model, the silicone lot or a process change. Use the same silicone on a clean control surface and test a second model from the same and a previous print batch.
Will a release agent always solve the problem?
No. A suitable barrier may help in some cases, but an incompatible release agent can also interfere with cure, leave residue or reduce detail. Validate the effect on both cure and dimensional accuracy.
Why does the top of the silicone cure while the contact surface stays sticky?
A cured outer skin with an uncured contact layer suggests that the model surface is involved. Residual resin, a chemical contaminant or an incompatible barrier coating should be investigated.
What should a buyer ask before approving a new resin-silicone workflow?
Ask for the approved resin, cleaning and post-cure schedule; the silicone product and lot; a defined barrier method if needed; a side-by-side control test; and written acceptance criteria for cure, surface detail, residue and dimensional accuracy.
Bottom line: Treat cure inhibition as a system compatibility problem. Isolate the contact surface, verify the silicone dispensing process, standardise resin preparation and validate the final combination on multiple production lots.